


Makes approximately 18 Patties
ELEMENTS:
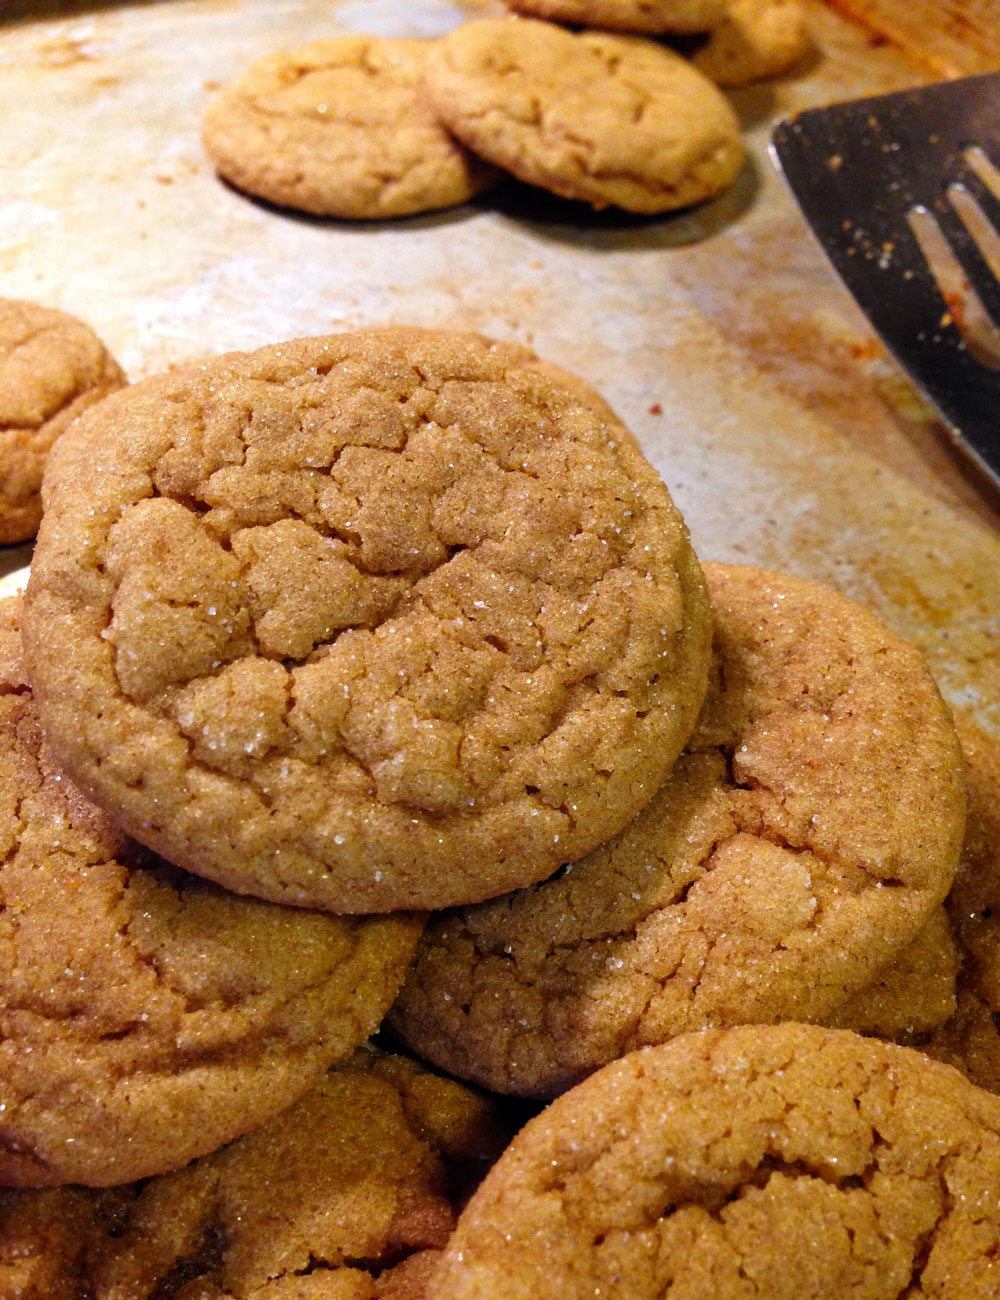
For the cookie–
One-quarter cup COCONUT OIL (Make sure your loved one is not sensitive to coconut. Or use another dairy free fat, such as Nucoa brand margarine, shortening, etc.)
One-quarter cup packed DARK BROWN SUGAR
One small EGG (preferably organic, cage free)
One-quarter teaspoon BAKING SODA
Half a tablespoon HOT WATER
One teaspoon PURE VANILLA EXTRACT
Two-thirds cup of ALL PURPOSE FLOUR
One-quarter cup of WHOLE WHEAT FLOUR
Pinch of SALT PARCHMENT PAPER for baking and handling dough
Preheat oven to 325F degrees. Combine oil, sugar, and egg together. In a separate cup, stir the baking soda, water, and vanilla together, then add this to the sugar mixture. Add both flours and salt and mix well.
Line a baking sheet with parchment paper. Scoop out the dough a 1/2 tablespoon at a time, roll into balls, and place them on the baking sheet, about 3 inches apart. Using a flat bottomed glass/cup and a small square of parchment paper, flatten each ball of dough evenly. (Do this by placing the parchment paper on top of the ball of dough, then place the cup on top of the parchment paper and evenly press down until it’s about 1/4 inch thick. Gently peel off the square of parchment paper and move onto the next ball.)
Bake in the oven for about 15 minutes, or just until the edges start to golden. Remove from the oven and cool.
For the filling–
Half cup of dairy free, nut free SUNFLOWER SEED BUTTER (Make sure the brand you are using manufactures in a nut-free facility! I use the Sunbutter brand and Trader Joe’s brand.)
One-third cup POWDERED SUGAR (little more or less depending your desired consistency)
PARCHMENT PAPER for handling
In a small bowl, stir the two ingredients together until thoroughly mixed. You may even knead it with your hands. Refrigerate if needed for easier handling.
For the chocolate coating– (do this LAST, right before you are ready to coat the patties)
10 oz. of good quality dairy free, nut free chocolate. I prefer to use ENJOY LIFE brand CHOCOLATE CHIPS or CHOCOLATE CHUNKS. They guarantee to be free of the 8 most common food allergens.
A DOUBLE BOILER (or sauce pan + stainless steel mixing bowl) to temper the chocolate. *Do not microwave the chocolate! Tempering the chocolate is what will give you a solid, glossy chocolate finish at room temperature.
FOOD THERMOMETER
PARCHMENT PAPER for cooling
Fill the bottom pan about half full with water. (Use less water if necessary. You don’t want the water touching the bottom of the pan or bowl that’s holding the chocolate.) Bring this water to a boil, then turn off the heat.
While the water is coming to a boil, break up your high quality chocolate into small, even bits. (If you are using the recommended chips/chunks, you can skip this step.) Place 3/4 of the chocolate in the top pan or stainless steel mixing bowl, whichever you are using. Make sure NO DROPS OF WATER get in the pan, chocolate, or on your stirring utensil! Once you’ve turned off the heat and the water has stopped boiling in the bottom pan, place the chocolate-filled pan or bowl on top. Using a rubber spatula, stir the chocolate until it is melted thoroughly. Use a food thermometer and remove the top pan from the heat when the chocolate reaches 110F degrees.
Place it on a towel, add the remaining chocolate, and continue stirring until all of the chocolate is melted and the temperature goes down to about 82F degrees. Then place the top pan BACK ONTO the bottom pan and continue stirring until the chocolate has reached 88F degrees. Now remove the top pan from the bottom pan and– VOILA! Your chocolate is ready for coating.
APPLICATION and ASSEMBLY of Patties:
The Girl Scout Cookie way–
Working on a clean surface, spread out all your cooled cookies. Scoop out the sunbutter filling 1/2 tablespoon at a time, quickly roll them into balls, and place one ball on each cookie. (If the filling gets too sticky, refrigerate it for easier handling.) Using a flat bottomed glass/cup and a small square of parchment paper, flatten each ball of filling evenly on top of each cookie. (Do this by placing the square parchment paper on top of the filling ball, then place the cup on top of the parchment paper and evenly press down until it covers the cookie. Gently peel off the square of parchment paper and move on to the next ball.)
Next, lay out a large piece of parchment paper on a cooled cookie sheet. You are now ready to work with the chocolate. Gently place a half tablespoon of melted chocolate directly onto the parchment paper, gently guiding it into an even, circular shape that is just barely larger than your filling discs. Let this sit for about an hour to firm up a bit.
Now take each filling disc and gently place it in the center of each chocolate circle. Press down ever so gently, if necessary, to even it all out. Re-melt your chocolate using the same method as before, and then scoop the remaining chocolate onto the top of each disc. Using the very back edge of your spoon, gently spread the chocolate out evenly to the edges of the disc.
Now tap, tap, tap, the cookie sheet and let gravity help the chocolate smooth over the sides of the filling. Let set on countertop for a few hours, until completely solid and no fingerprints show when touched.
The See’s Candies way–
Lay out a large piece of parchment paper on the counter. Scoop and flatten the sunbutter filling into discs, similar to the above instructions. (I prefer the filling to be thicker if there is no cookie.) If the filling gets too sticky, refrigerate it for easier handling.
Lay out another large piece of parchment paper on a cookie sheet. Gently place half a tablespoon of melted chocolate directly onto the parchment paper, gently guiding it into an even, circular shape that is just barely larger than your filling discs. Let this sit for about an hour to firm up a bit.
Now take each filling disc and gently place it in the center of each chocolate circle. Press down ever so gently, if necessary, to even it all out. Re-melt your chocolate using the same method as before, and then scoop the remaining chocolate onto each disc. Using the very back edge of your spoon, gently spread the chocolate out evenly to the edges of the disc. Now tap, tap, tap, the cookie sheet and let gravity help the chocolate smooth over the sides of the filling. Let set on countertop for a few hours, until completely solid and no fingerprints show when touched.
TIPS:
These little babies are freezer friendly! Keep a stash on hand long term so you can pop one or two when the craving hits.
Remember, the cookie can be replaced with any kind of cookie! For example, if you have a gluten allergy, just bake your favorite gluten-free cookies and use those in this recipe.
You’ll notice in the picture above that some patties are completely covered in chocolate and some are only covered on top. I decided halfway through that, taste-wise, I personally preferred half the amount of total chocolate per pattie. I’m sure I’m the minority here, but it just tasted more balanced to me. So if you’re like me, just use a total of half a tablespoon of chocolate per pattie as opposed to a full tablespoon. You’ll need to make your chocolate layer on top and bottom thinner, which will take a bit more care….or you can do it the shortcut way and just plot it all on top. 😉


