

One 1.75 oz. chocolate bar makes 18-20 Dipped Pretzels
Elements:
PRETZELS (Any shape just as long as they’re processed in a dairy/nut free facility. I most often use Rold Gold and Kroger brands. Always double check labeling.)
Dairy and nut free WHITE, MILK, and/or DARK CHOCOLATE (Today I used Premium Chocolatiers chocolate bars. This is the ONLY company I have found so far that makes a dairy/nut free WHITE chocolate! MmMM!)
POWDER or OIL BASED FOOD COLORING, extra MELTED CHOCOLATE, and/or COLORED SPRINKLES for decorating (Note: certain types of Wilton brand sprinkles are manufactured with nuts products.)
PARCHMENT PAPER
Application:
Lay a large sheet of parchment paper onto a cookie sheet (one that can fit in your fridge).
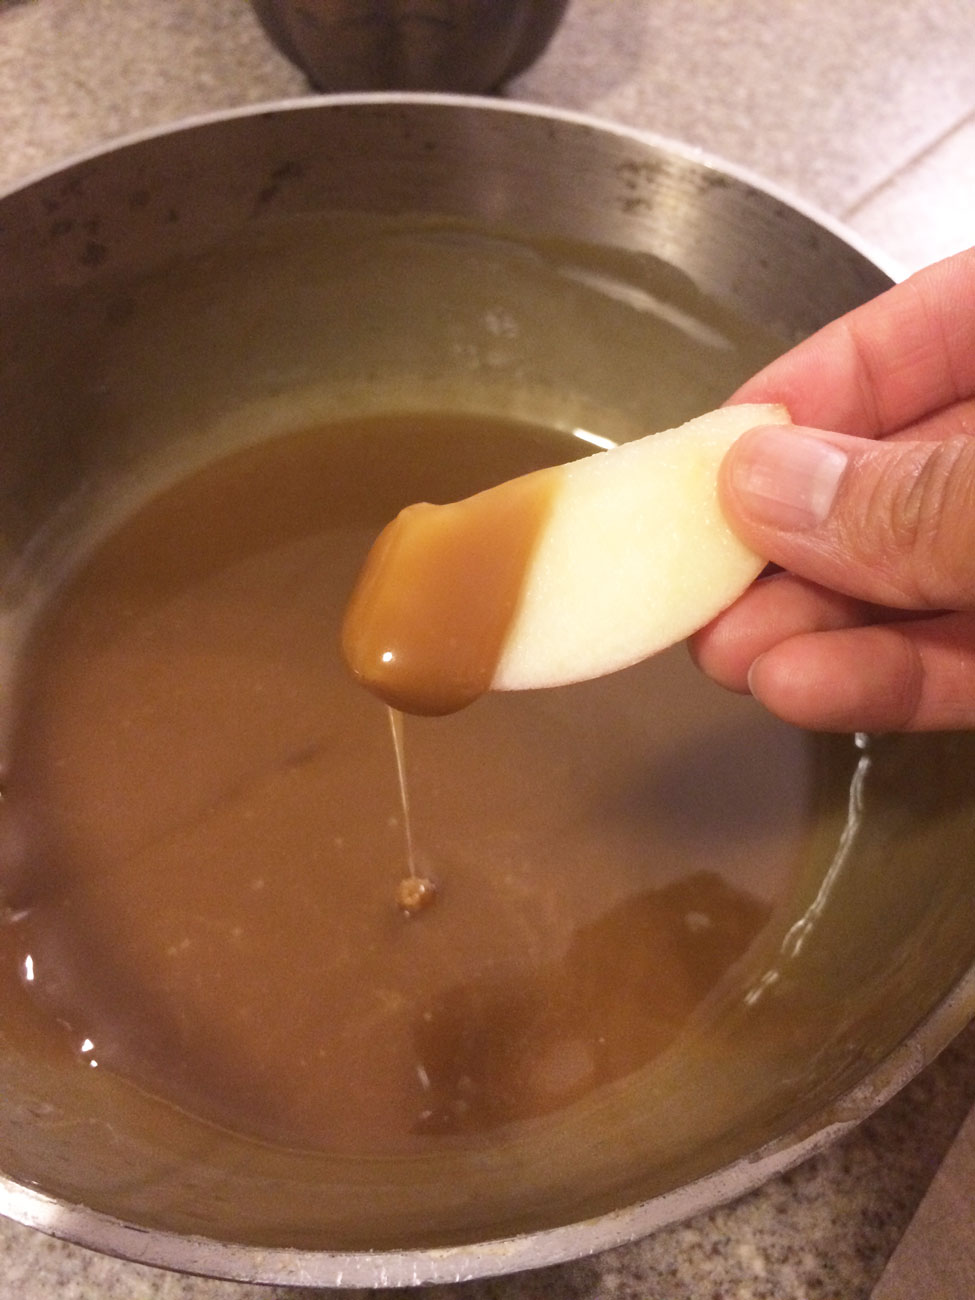
In a small microwave-safe bowl, break up your chocolate into pieces and place them in the microwave. (Work with one chocolate at a time.) Microwave for 30 seconds, stir once, then heat again for 10 sec and stir again. Repeat these 10 sec increments until the chocolate is melted and smooth, making sure you STIR thoroughly after each heating.
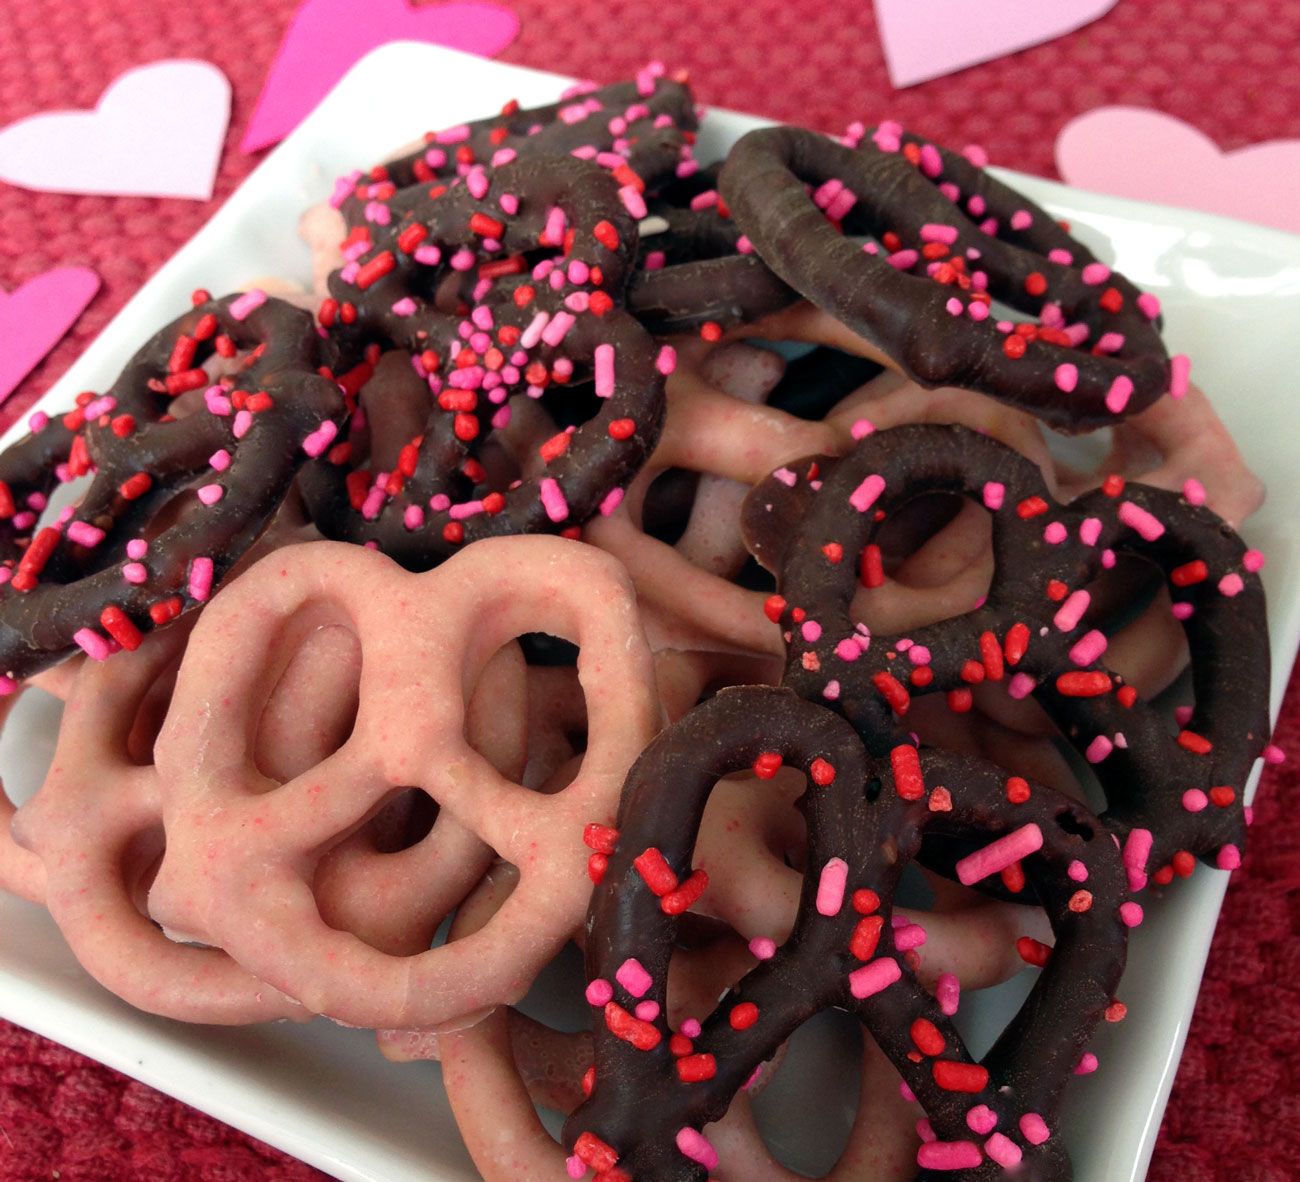
If using white chocolate, now is the time to color it if you choose. Pour a little powder or oil based food coloring (water is chocolate’s enemy) and stir thoroughly. (I didn’t have any on hand so I used a couple drops of water-based food coloring anyway. In the picture above you can see that the color of the pink pretzels is not smooth. The speckled look is kind of fun too, but I would’ve gotten a better pink color had I used the right food coloring.)
Dip pretzels one by one into the melted chocolate. I use a fork to lift the pretzel out of the chocolate, bounce it gently a few times allowing the excess chocolate to drip off, and then gently run the bottom of the fork along the edge of the bowl before placing the pretzel onto the parchment paper.
If you’re using sprinkles, make sure you sprinkle them on while the chocolate is still wet.
If you’re drizzling melted chocolate on top (contrasting colors are nice), be sure to let the first coat of chocolate set before you drizzle. This will give your design more dimension.
With this particular brand of chocolate, it is best to let the chocolate cool and set to the touch at room temperature first, and THEN place it in the fridge for an hour to seal the deal. This will take more time (about an hour on the counter) but it will ensure you have a smooth finish. (In my picture above you can see that the dried dark chocolate isn’t totally smooth–it looks frosted in some places. This is because I tried to rush it by placing them in the fridge shortly after dipping.)
Remove chocolate covered pretzels from the fridge and store in an airtight container.
Tips:
To achieve a cleaner finish, try to minimize the amount of time you’re dipping/touching the pretzels. Once you get the hang of the process, you will be able to work more quickly and efficiently.


